Setting Automatic Replies or Out of Office messages too some can be tricky and confusing and its certainly something we need to teach all our employees to do at one stage or another however using Microsoft Flow we can build our own flows which can handle this for you and you can then set your out of Office from your mobile phone using the Microsoft Flow App. You could also create buttons to remove the auto replies sooner if you return earlier than expected. In this step by step guide we found more questions and challenges but we just wanted to share some ideas of how you can use Flow and this seemed a good place to start.
We would love to hear your feedback or other ideas so just send your ideas to [email protected].
Guided Activity – Outlook Auto Replies using Flow
Learning Outcome: You will now be guided through how to build a Button flow that will control your outlook auto replies when your out of the office.
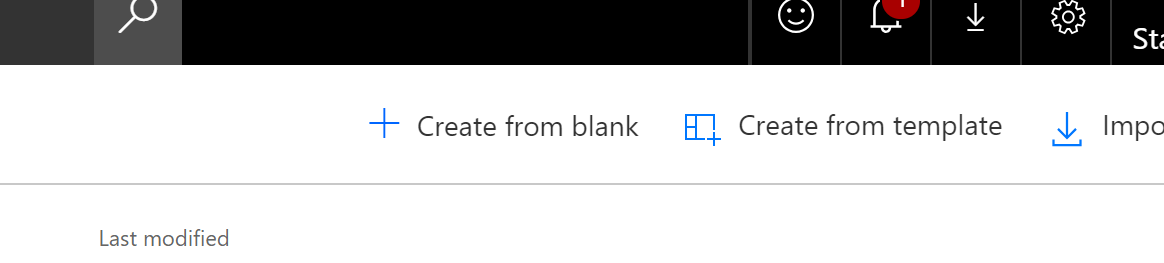
1. To create this flow you will need to navigate to Flow and then click on the create from blank option.
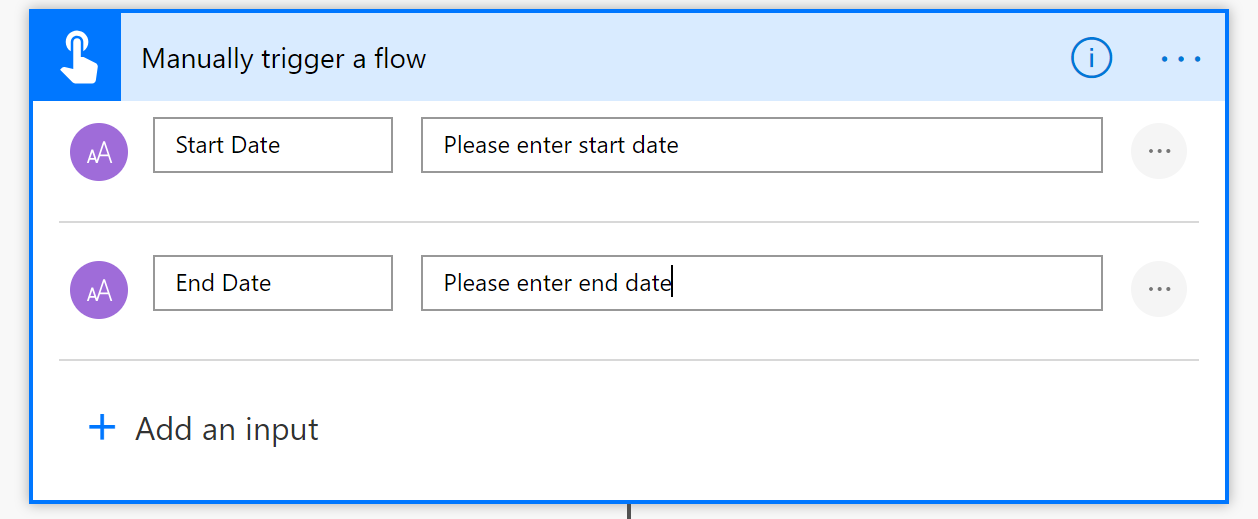
2. You will want to add a button trigger now and configure it to use two Text inputs for the start date and end date of you auto replies.We need to do this as currently there is no date pickers for buttons.
3. The next part is to convert the Date format entered by the users to be used in a different format by using the input data and changing this to yyyy-dd-MM. This is due to how the Auto Reply relies on the data being in a certain format. You must now add an Initialize Variable and configure as follows.
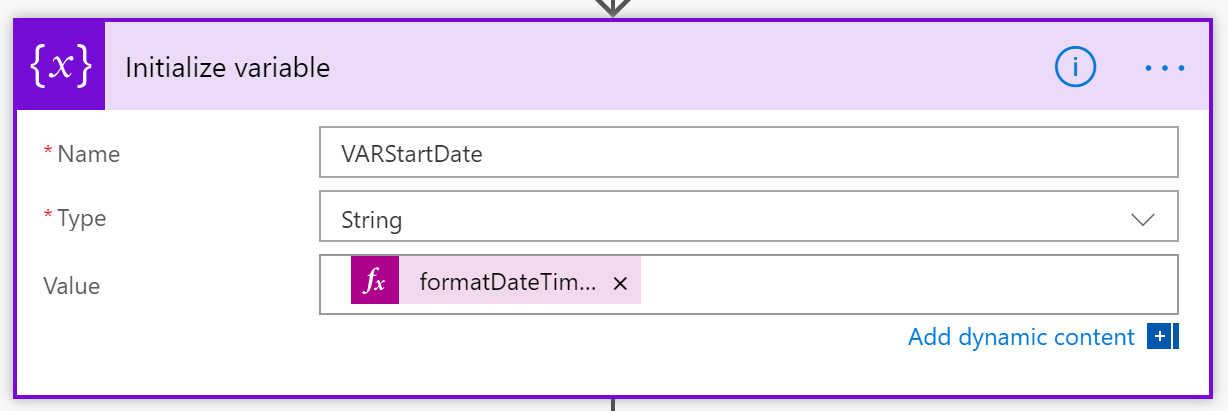
The Value required will use the expression heading in the dynamic content pop out.
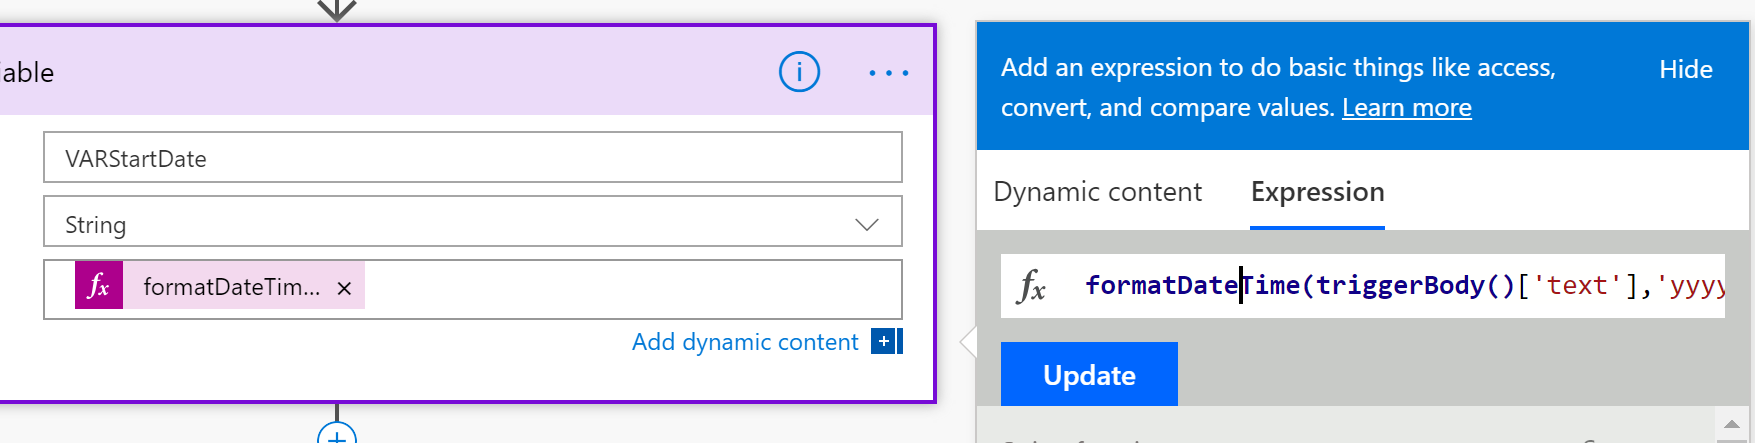
The formula required uses the formatDate Expression using the trigger options and the Start Date Column which is represented as ‘text’ in the formula.
formatDateTime(triggerBody()[‘text’],’yyyy-dd-MM’)
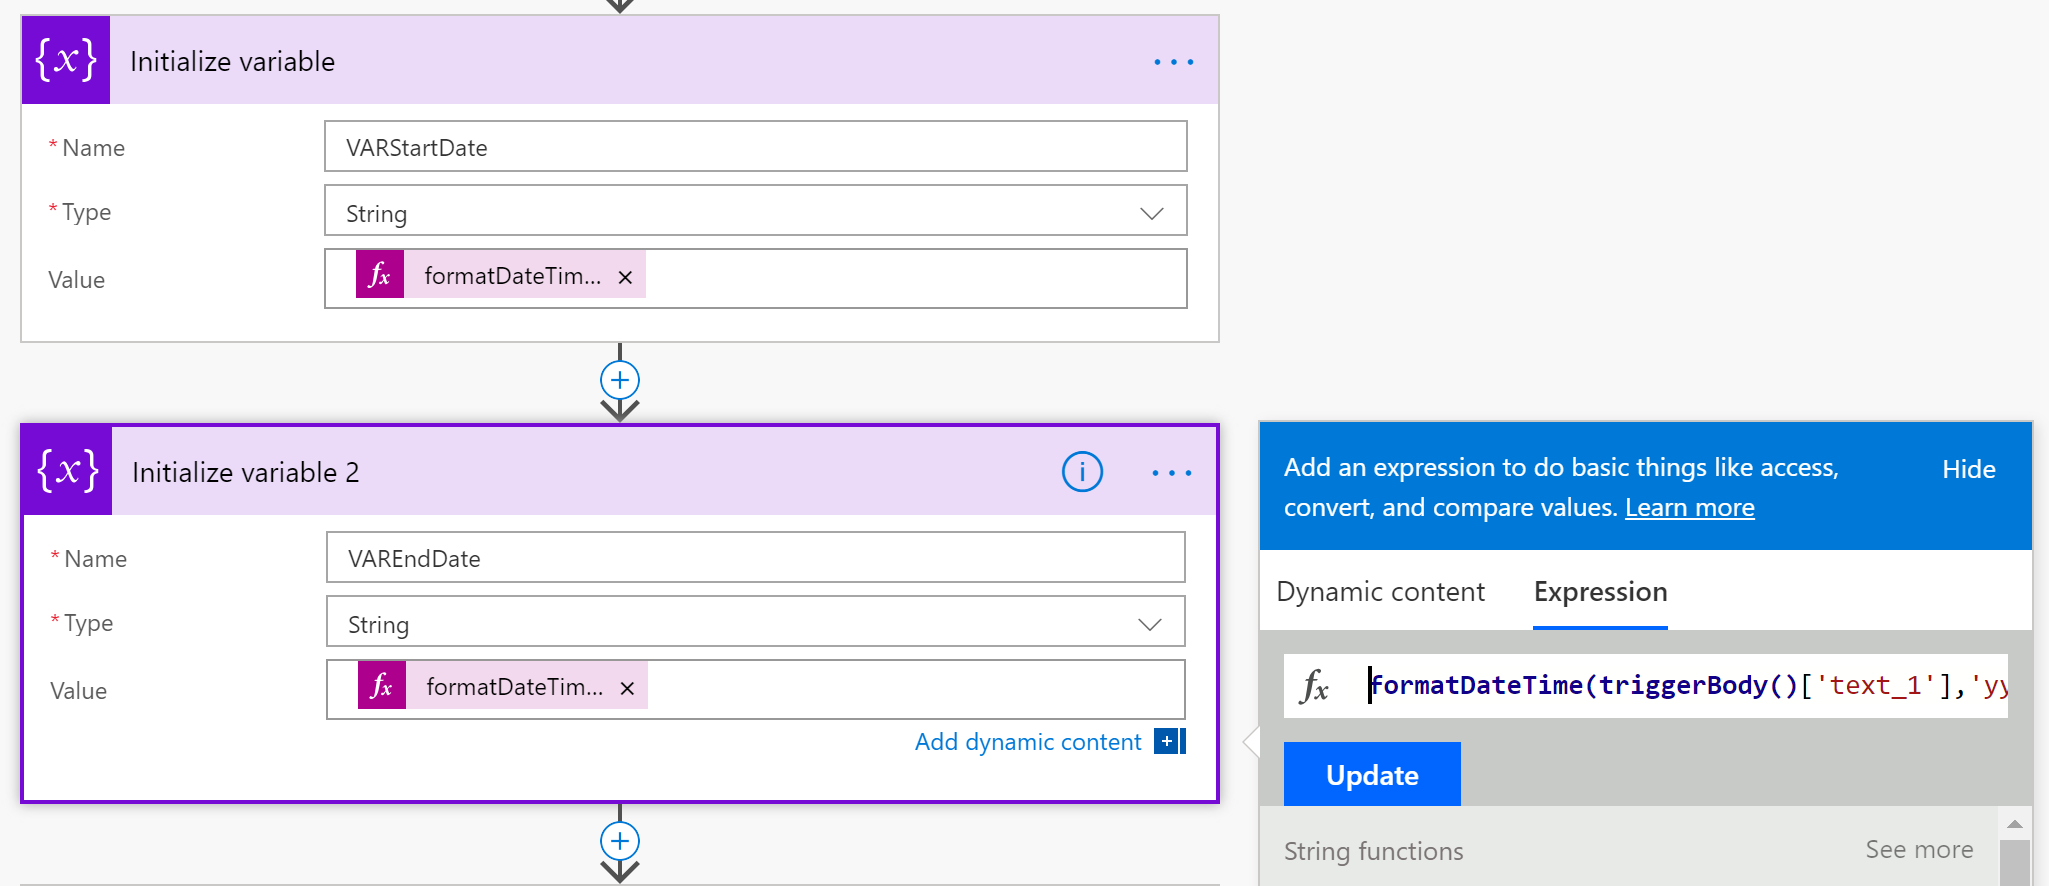
4. You now repeat the above step for the end date and this will then have the dates outputted in the correct format for us to use later in this flow.
formatDateTime(triggerBody()[‘text_1′],’yyyy-dd-MM’)
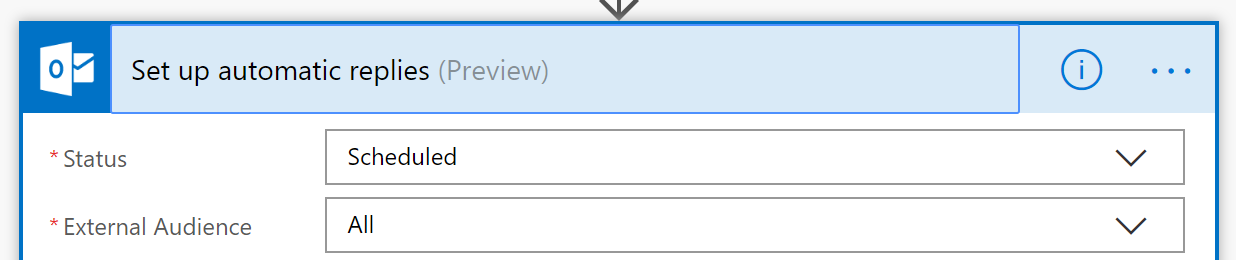
5. You can then go ahead and add the Office 365 Outlook – Set up automatic replies action.

6. The initial configuration is to change the status to scheduled and the external audience to all
7. The final part is to add in the start date and end date along with a message for the automatic replies to add the start and end date this will come from the variables.

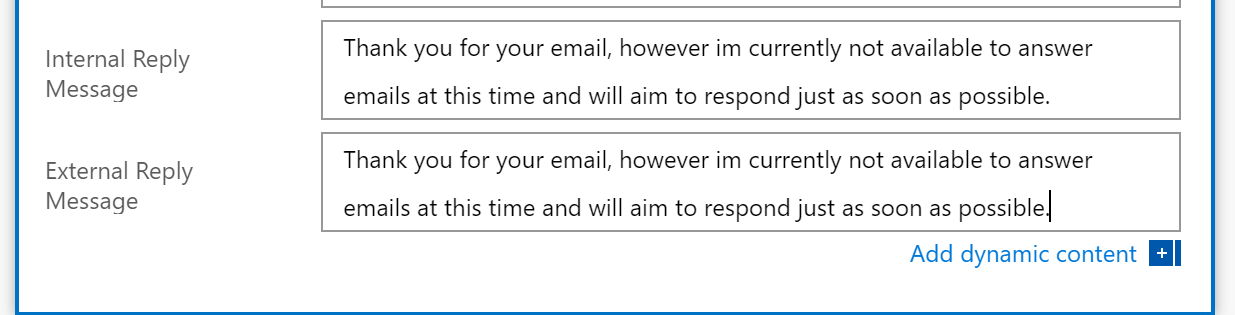
8. The message you set for internal or external replies can now be set.
9. Your now ready to rename, save and test your flow. Give your flow a name which will appear in your Flow App on your mobile and then click Save.

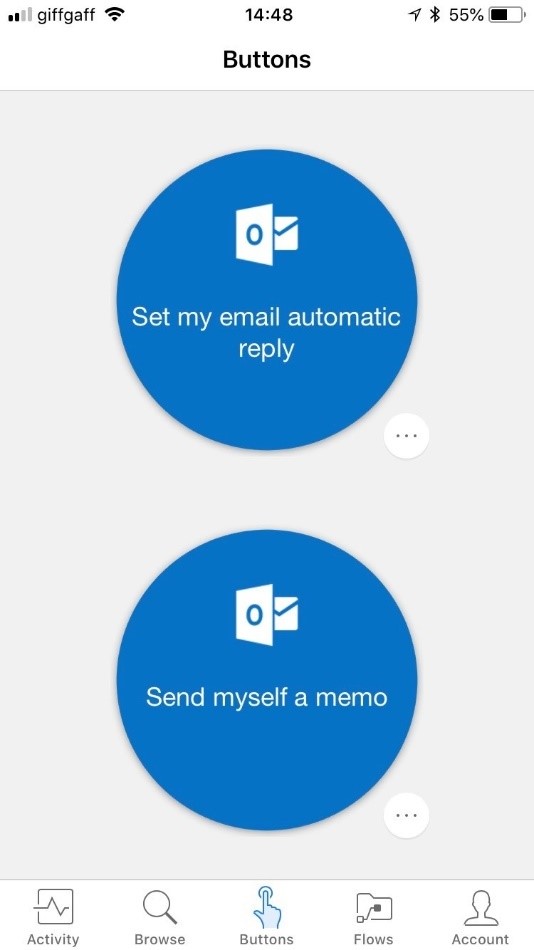
10. Using the Flow app on your mobile you will now see the button to set your Auto Reply, Click the button.
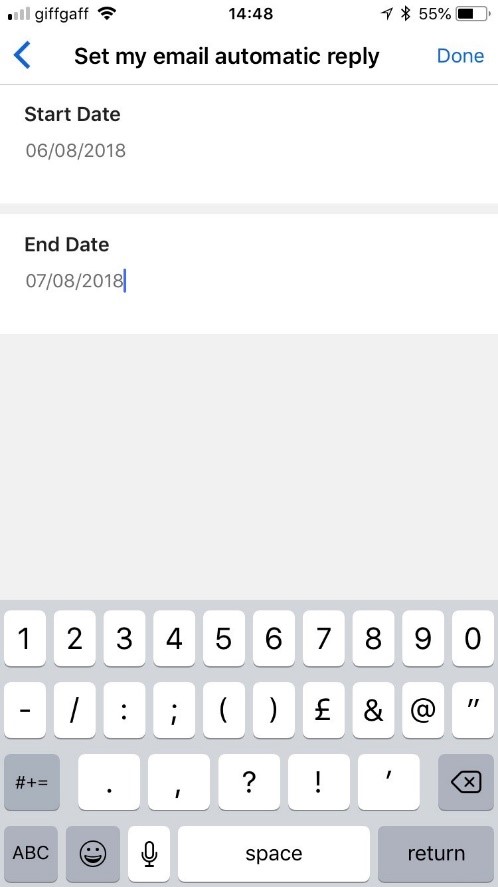
11. The format for this to work in this demo is UK format so user must enter the date as 06/08/2018 for the 6th August 2018. We then let the variables in Flow control the conversion so that it works as expected.
12. The flow will now start as expected and will set you auto reply settings in outlook.
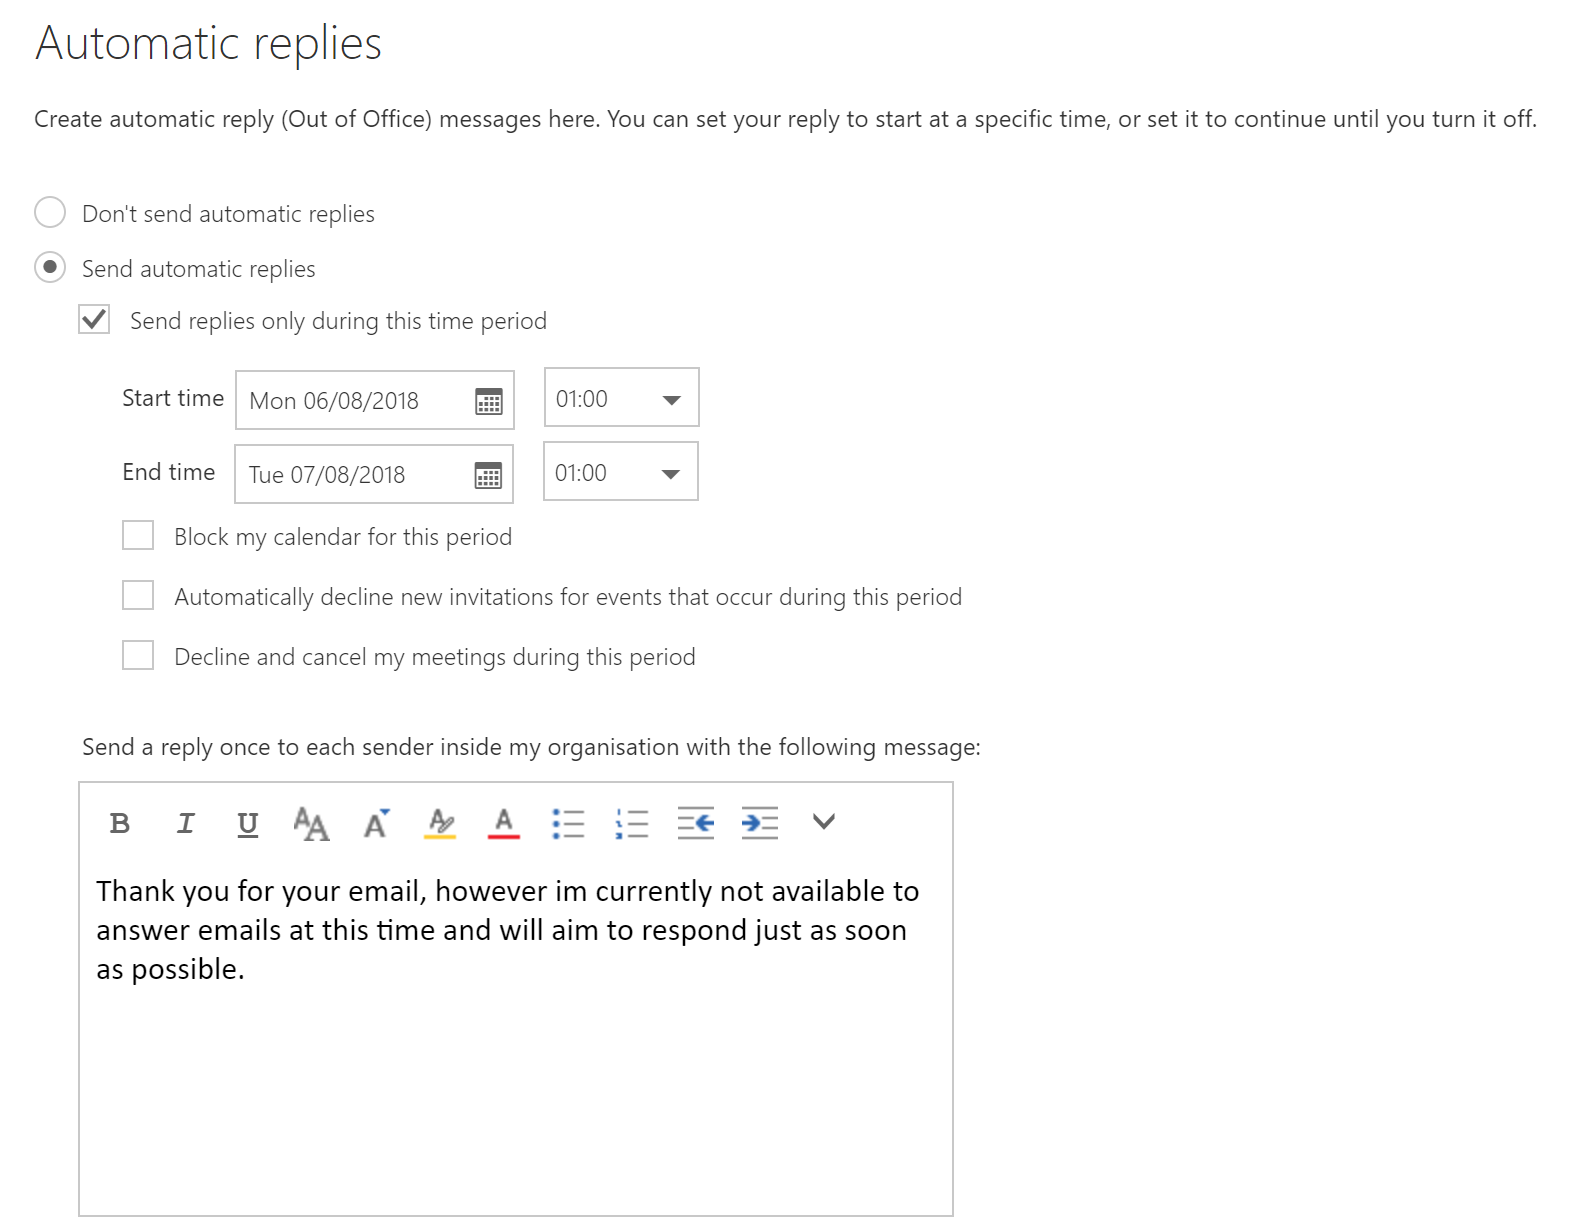
13. You will now send an Automatic Reply Email for any new incoming mail.
![]()
This should provide you with the nice and easy way to set your out of office using Microsoft Flow. Its certainly a good start but not an ideal solution at the time of writting this as we would maybe change a few things as it could be even easier by launching a Microsoft PowerApp that has a date and time picker and flow starts when button is submitted and could be included in some kind of My Business Managament App where users can set out of offices, Request Holidays and even see latest news and twiter posts as an idea. This is something we have started already and might come to one day to share online and share our ideas.
If you do have any questions or feedback, or maybe want us to explore your ideas just let us know by emailing us using our [email protected] email address and we will reply and post here once we come up with a solution.
Till next time 🙂
www.StandsureTechnology.co.uk